To create a poll, first access CN Post from your LMS course. Next, at the top of the page, click on the red pie chart icon. Then, follow the steps below.
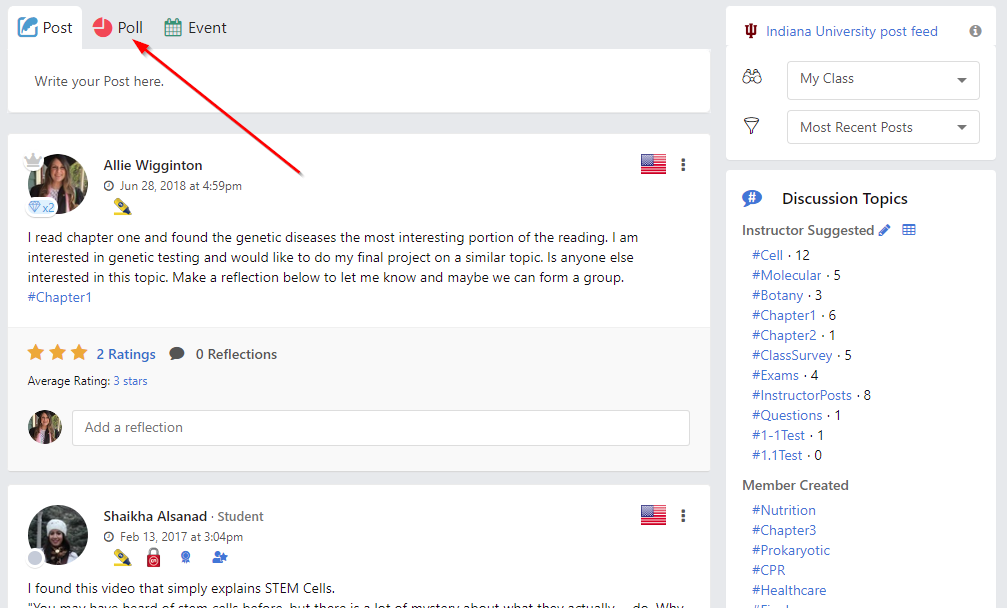
Refer to the following screenshot when reading the below steps.
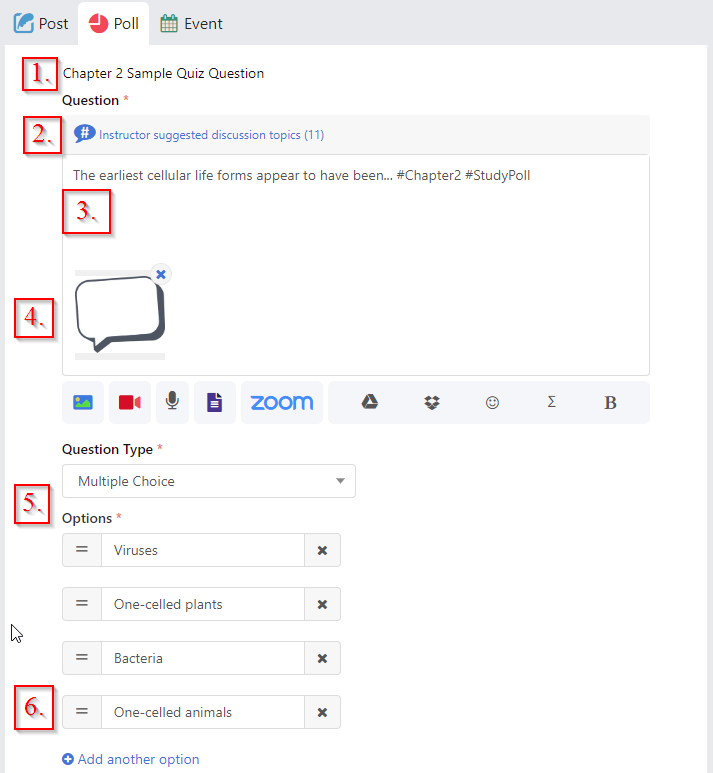

STEP1 (Optional): Create a title for your Poll
STEP2: Select instructor suggested hashtags for your poll
You can choose these based on the content of your poll. If you don’t see any hashtags relevant to your poll, create your own (simply type the hashtags)!
STEP3: Write your poll question
STEP4: Attach multimedia
You can attach images, self-created/uploaded or YouTube videos, and documents. Multimedia can help keep poll attractive and interesting. Use the opportunity to share related learning materials with your class.
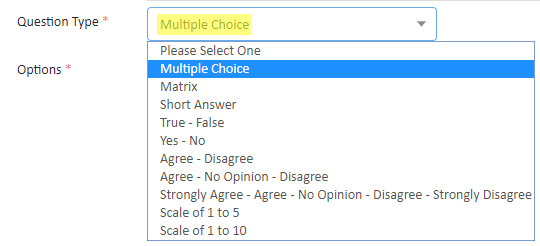
STEP5: Choose a question type
STEP6: Enter in your question options and choose whether or not users may make multiple selections
STEP7 (Optional): Enter the correct answer to the question if there is one. Users won’t see the correct answer until they submit their own answers. This option is helpful for pop quizzes.
STEP8: Select a visibility setting for your poll
STEP9 (Optional): By checking the box, you can choose to add your poll to your ePortfolio to showcase your work
STEP10: Add another question or, click submit – Before completing this step, check out a few of our helpful hints and extras for Polls below!
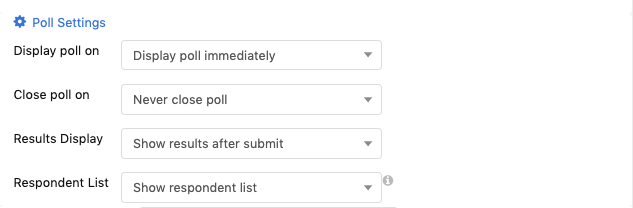
STEP11* (Optional): Edit the Poll Settings if necessary
Refer to the following screenshot when reading the below tips.
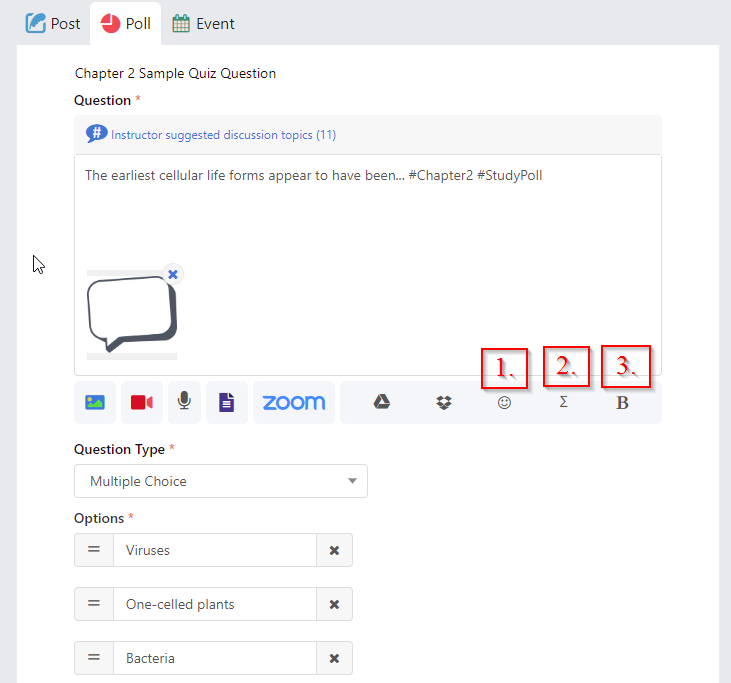
TIP1: Add emojicons
TIP2: Add math equations
TIP3: Bold your content to make it stand out
Here is what the Poll looks like after it is submitted - NOTE: You cannot take your own poll. Users who are taking the poll will not see the correct answer until after they answer the poll.
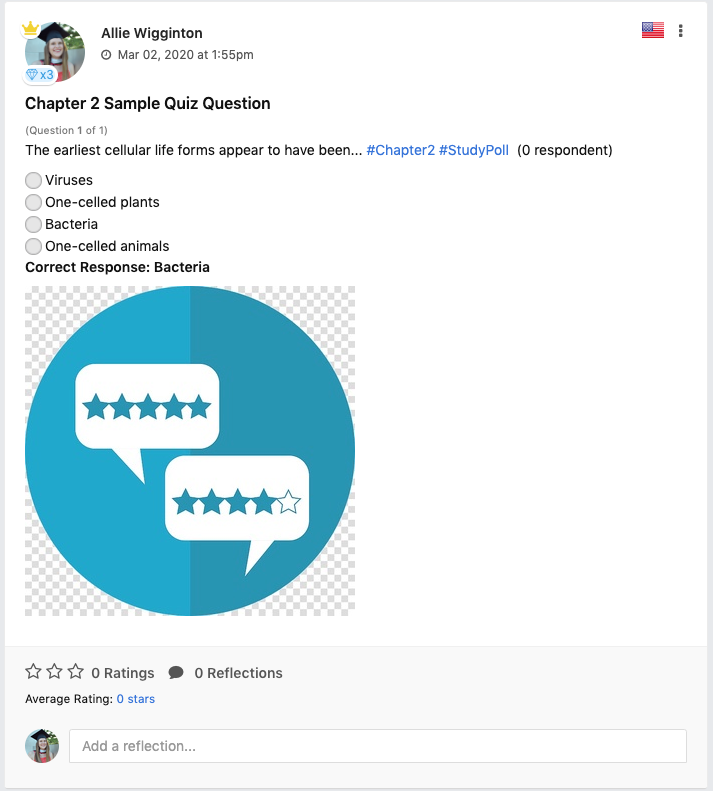
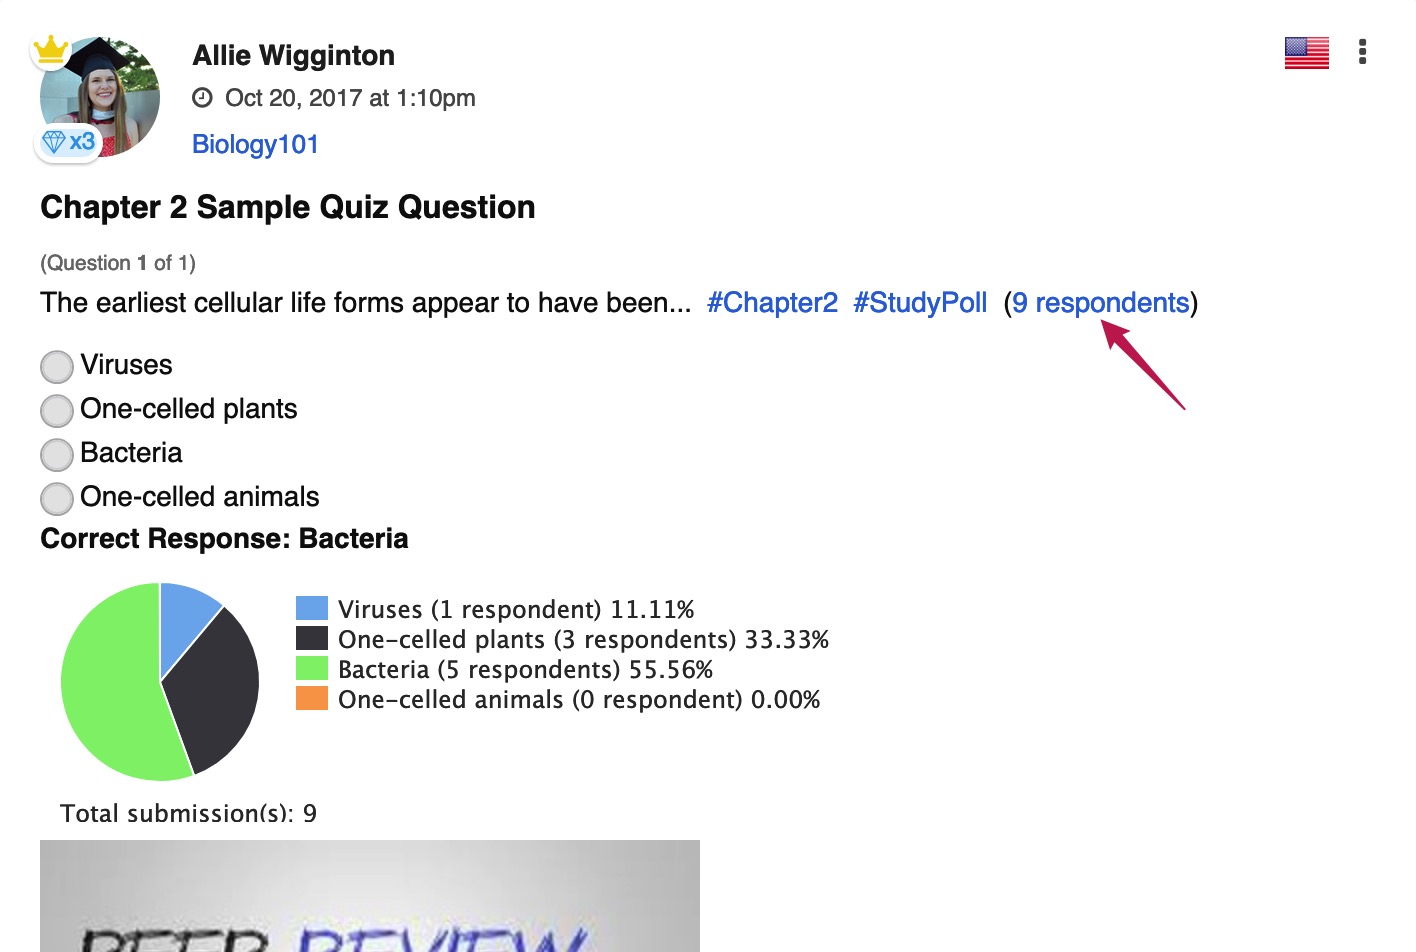
This is what the answered poll looks like to you (the poll creator) and course instructors. The poll result is updated automatically. Course instructors see the results of any polls in their course without taking the poll.
HINT1: When there are more than 3 respondents on a poll, the respondent number becomes a link. You (the poll creator) and course instructors can click it to view the list of users who have answered the poll.
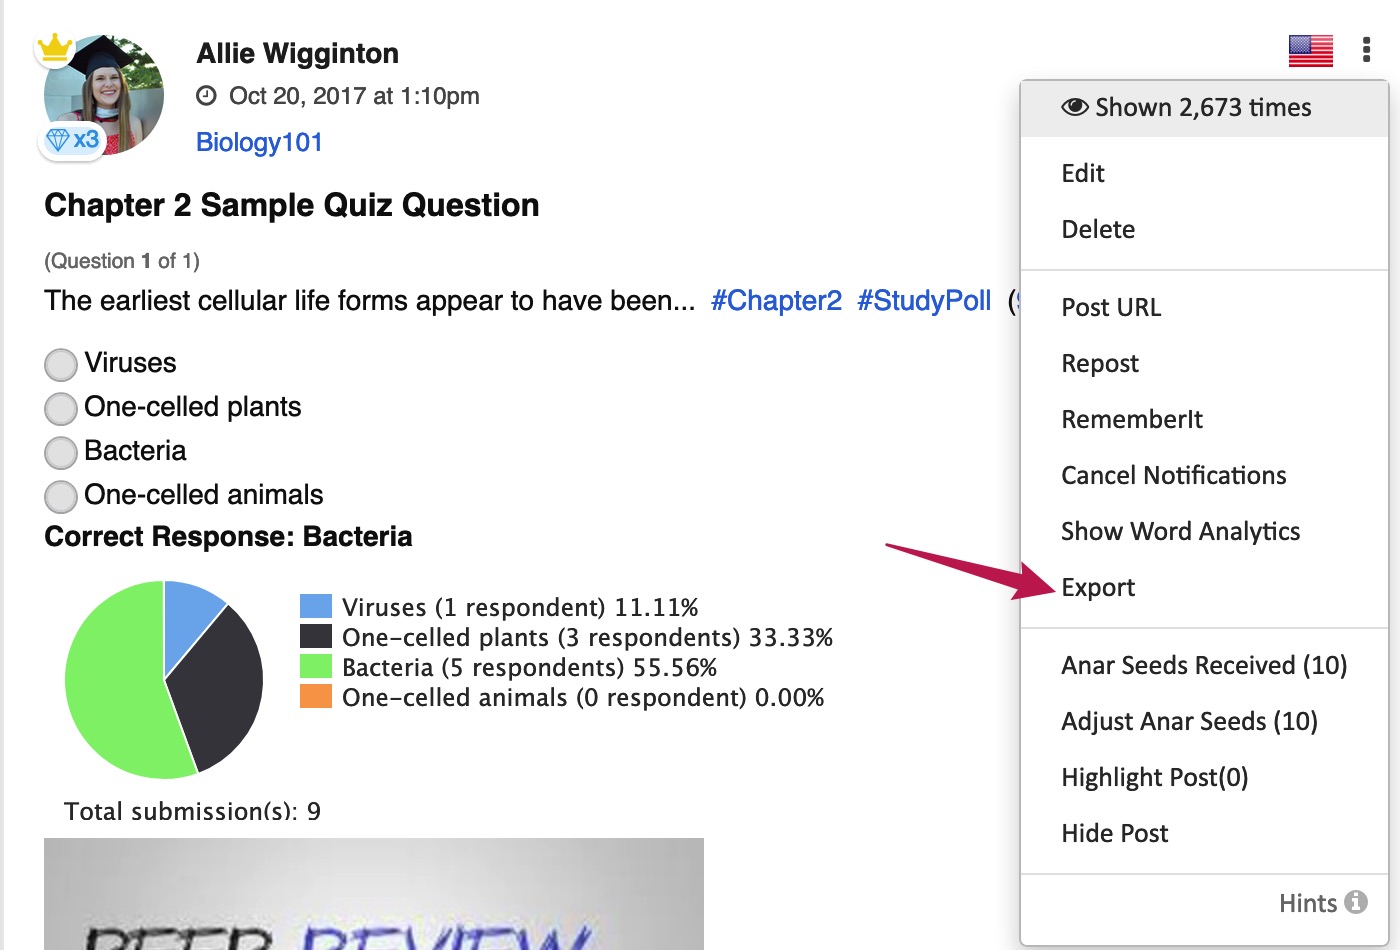
HINT2: You (the poll creator) and course instructors can download the poll result from the Export link on the poll settings dropdown to do further data analysis. The downloaded file is in CSV format (similar to Excel).
Comments
0 comments
Please sign in to leave a comment.